This winter brought the spread of so many flu germs and lots of trips to the doctor. Luckily, finding a “germ” in the garden can be a happy thing. As defined by Webster, “a germ is a small mass of living substance capable of developing into an organism or one of its parts.” Yes, a “germ” is the beginning of something good in the garden, and that probably means a plant! Spring will begin this month and a great way to welcome her is to start some seeds indoors—germinate them!
You probably have some supplies for this project on hand, so let’s get started.
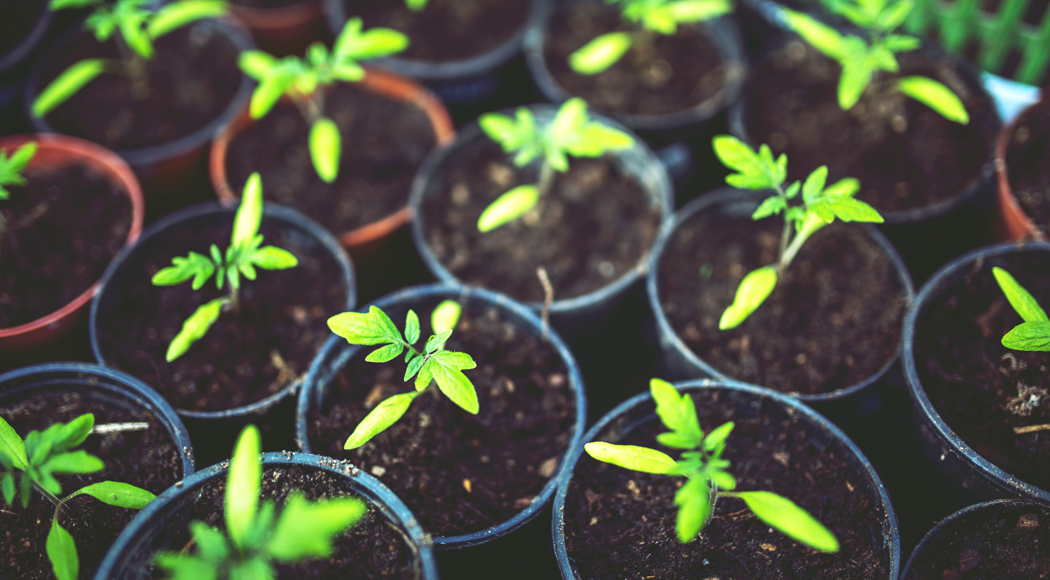
1. Decide on your container. Old egg cartons will work as will old ice trays. If you have neither, empty yogurt containers or any small plastic or glass cups will work, too. They do not have to be very deep.
2. Potting soil. It’s easily purchased at a nursery or garden store and nowadays, even grocery stores and drug stores carry small bags. You don’t need a lot to start a few packs of seeds.
3. Seeds. Maybe you saved some from your favorite bloomers last year? If not, seeds are easy to order online or purchase from your local nursery. It’s fun to start a plant you may not be able to buy locally from seed and then see how it does in your own garden. Remember, seeds are very inexpensive. Store your seeds in the freezer for a day or two before planting to replicate the conditions they would face outdoors before germination.
4. Water. I think we all have a tap in the house!
5. Light. A sunny windowsill is your best bet here. A spot under a light that can be left on from dawn to dusk will work well too!
With supplies in hand, get your project going. Make sure your container is clean. Moisten the potting soil so that it is damp like a squeezed sponge. No lumps permitted. Fill the containers and level off. Place at least three seeds in each container. All may not germinate, but if they do, you can thin them later.
Use your finger to make a hole for the seed and then drop in and cover. Use a popsicle stick and a sharpie to label which seeds are in each container or tape a label on the container itself. Now sprinkle with a bit more water. These incubators need to be kept moist but not liquid. If you slip them inside a baggie and zip it up you will only have to replace the water once a week or so.
Each seed packet should give you a germination schedule. Once you see sprouts, remove the plastic and enjoy the “grow show!” After good Friday, or the last frost, plant your seedlings in the appropriate garden spot.
This is a winter project that will carry over into summer enjoyment. Time is of the essence, so start today and enjoy a good “germ!”